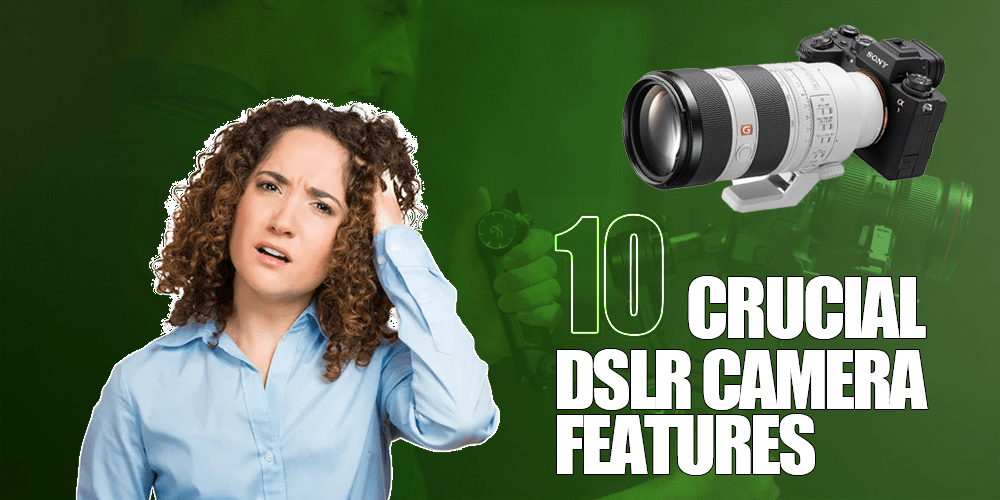
In this guide, I’ll explain, from basics to advanced, all the features that a DSLR camera features. Out of many, I have 10 crucial ones to discuss in this article.

DSLR cameras are the oldest digital cameras in the world of photography. Even though some might think these have become obsolete, DSLRs have managed to walk with time and adapt to the latest technology.
If you plan to buy a DSLR camera this season, here are ten excellent features of the DSLR cameras that you might not be aware of.
Ten Features That have Made DSLR Cameras Mod And Trending
1. You Get Different Modes of Shooting in DSLR
Aperture Priority Mode
Aperture Priority Mode is a setting on the camera that prioritizes the aperture. Background features in your image become either crystal clear or fuzzy when the gap is adjusted.
The larger the aperture, the more ambiguous the background parts will evolve as you focus on your main subject.
On the other hand, a narrower gap allows you to incorporate more elements in your picture without losing them to blurring caused by larger cracks.
Mode with Shutter Priority
Shutter Priority Mode allows you to control and change the shutter speed while the camera determines the aperture.
If you pick a faster shutter speed, you will be able to freeze motion.
The degree of motion blur in your photographs will be increased if you choose a slower shutter speed.
Manual
Both the shutter speed and the aperture may be controlled in Manual Mode.
Choose this option if you’d prefer to have complete control over these two settings than have the camera’s algorithms choose the best settings.
Taking manual control of your photographs will give you full creative control over the process and product.
2. Light Sensitivity: You can manage the camera’s light sensitivity
There is a feature in the DSLR, which is known as ISO. It enables you to use a numerical approach to manage the camera’s light sensitivity. The lower the ISO number (for example, 100, 125, 200, or 400), the less light sensitive the camera is, resulting in darker photographs. Similarly, the more ISO values (800, 1600, 2000, and beyond) are used, the more sensitive the camera’s sensor becomes, resulting in lighter photographs. However, you should be aware that this light-enhancing magic comes at a price. That price is a decrease in overall image quality due to increasing the ISO setting, especially over 1600.
Every generation of cameras improves slightly in processing photographs at higher ISO levels. In general, though, if you’re looking for quality, lower ISO values, especially the lowest “native” ISO level your camera allows you to pick, are frequently the best choice. This means that you can put some digital cameras into “Extended ISO” mode, which gives you more ISO options.
3. Modes Of Focusing
This has to do with how the autofocus mechanism functions. You may have had the experience of turning on a DSLR camera and seeing a slew of various indications flash over the LCD or Electronic Viewfinder as you try to focus the camera for a test image (EVF). These are the different spectrum points that have been triggered. The camera determines the regions you may want in focus, often represented by red or green boxes over different sections of the image, which works well in most cases.
4. Focusing Backwards
This technique may cost you significant photo chances in the future. For example, when practicing light painting photography, you’ll be working in dim light, taking your time to set up your camera and focus on precisely the correct spot in the image for tack-sharp clarity. Then you’ll push the shutter button to start the long exposure, allowing you to step out in front of the camera and wave your torch about, capturing the magnificent light motions.
However, if you don’t apply enough pressure to the shutter button when you push it, the camera interprets it as a request for a change of focus, and the autofocus system kicks in.
Back focusing is a unique feature typically found in DSLRs.
On more advanced DSLRs, detaching the focusing component from the shutter button and assigning it to one of the other choice buttons may save you time and frustration. The reason for the name “Back Focusing” is that the button that is usually assigned for focusing is on the back of the camera, but close enough to the shutter button that you can easily engage the newly appointed autofocus button with your thumb while keeping your forefinger as the trigger finger for the shutter button. It takes some getting accustomed to, but it dramatically improves your productivity and how you handle your camera.
5. Compensation For Exposure
Although you may not utilize the exposure compensation option all of the time, there are times when it will assist you in enhancing the overall quality of your photograph. The exposure compensation settings are measured in values, starting at zero and moving to the plus or minus values to brighten or darken the image.
Without exposure compensation, if you’re photographing in dark conditions, such as at night or in the evening (when you get those darker blues, for example), the camera will calculate that any source of light, such as street lights, lanterns, and other sources of light, will be rendered highly bright, as the DSLR overcompensates to ensure the light can be seen in the dark environment.
Professional photographers frequently use the exposure compensation option to tone down those light sources in the finished image and dial down into the negative numbers, generally going to -1 of exposure compensation. In a bright setting, such as snow, an exposure compensation value of +1, or even +2, on the other hand, will aid in combating the camera’s inclination to compensate in the other direction.
6. White Balance: You can customize the White Balance
There are occasions when you want to shoot in automatic white balance settings most of the time. This usually entails entering the white balance menu system, picking a custom preset option, and then taking a snapshot of how you want the white in all of your images to look. For example, when capturing a white bridal outfit or a snow cliff outside your window.
Until you reshoot with a different custom white balance or revert to one of the preset white balance modes, such as Auto White Balance, Cloudy, or Sunny, the camera balances all other colors in the scene properly while taking such photographs.
7. Highlight Control: You can turn on the highlight control
Some DSLRs include a function called “The Blinkies” that allows you to switch on highlighting. For example, this isn’t something you’d want if you were shooting a bride on her wedding day. You’ll lose any delicate detail if you overexpose of the bridal gown. You won’t be able to recover it in post-production (e.g., Lightroom) since the program won’t have any data for those overexposed sections of the image. As a result, having Highlight Control set on is frequently a helpful warning indication.
8. Different Modes: Modes Of Measurement
Depending on what you want to capture, your DSLR will most likely let you choose between three distinct metering modes:
- Metering is evaluated by measuring the degrees of brightness throughout the frame; evaluative Metering allows the camera to choose the best appropriate exposure. Most of the time, this is the one you should use.
- Metering that is Centre Weighted This approach measures the entire screen uniformly by focusing on the topic in the middle of the frame.
- Metering on the fly Using Evaluative Metering in specific conditions, such as a music event, you will run into issues because the illumination changes every few seconds. Because you’ll be focusing on the musician’s face when photographing music performances, Spot Metering is usually the best option, and that’s who you came to see. Therefore, you want to make it apparent who the artist is in your shot, which means catching them in the most incredible light possible by utilizing the most appropriate metering mode—in this case, Spot Metering.
9. Control Of External Flash
Some of the more recent DSLRs, usually those in the upper price range, let you control the operations of a suitable external flash unit directly from the camera’s menu system. This is a fantastic feature, especially if you’ve got many flash units strewn over the place or placed your single flash unit in an ideal. Still, tough-to-reach location, making it impossible to view the LCD and buttons on the flash to modify the settings, can alter how it reacts, all from your DSLR’s menu system.
10. You can turn off the Beep whenever you want
If you want to make yourself hated, go somewhere quiet and start shooting images with your camera’s beep system loud. Please don’t do it; it’ll become a very annoying and off-putting sound. The camera is not required to make an audible announcement when it has anything targeted with its Autofocus technology, so figure out where the sound controls are in your camera’s menu system and turn them off.
Final Takeaway
Suppose you’re looking for features that would set apart your DSLR from other mirrorless cameras. In that case, we hope the information we’ve provided here about the current DSLR features will assist you in making better-educated judgments before you purchase one. Perhaps you’ve always wondered what makes your DSLR tick, and if that’s the case, I hope you’ve found this post very informative.
The magic of DSLR lies in its mirrors and prisms, and it has continentally incorporated the latest technological changes in it for the better. Today, we have the best version of DSLR that can easily defeat other emerging cameras in the market.
So, if you’re a DSLR user, keep these features in mind the next time you’re out shooting or in the studio. They’ll make your camera an excellent tool for capturing the magic.